Rock Phosphate for Plants: How to Use It in Pots for Better Roots and Blooms
Rock Phosphate for Plants: How to Use It in Pots for Better Roots and Blooms
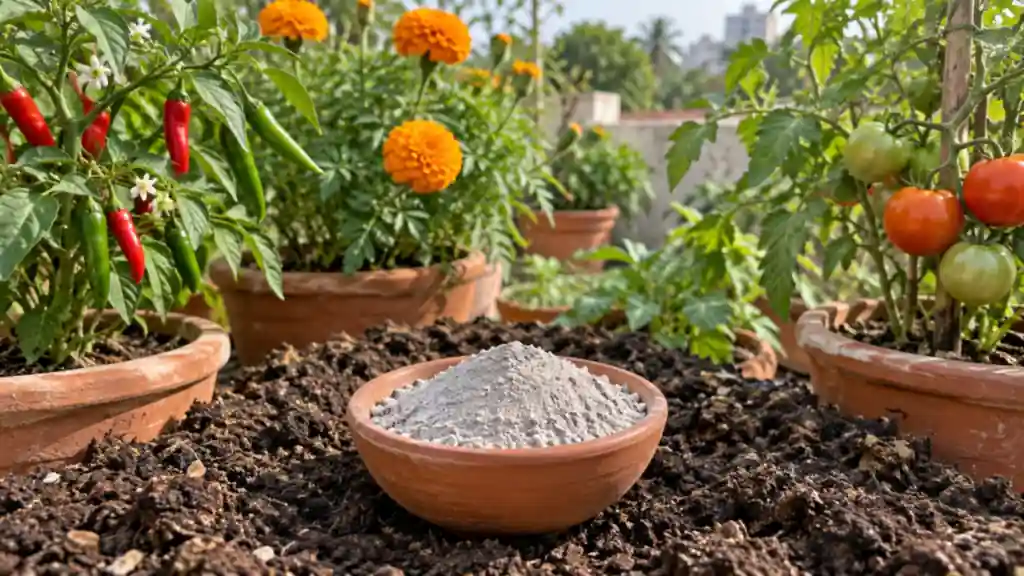
Your chilli plant looks green and healthy, but it hardly flowers. Your tomato seedlings sit still for weeks after transplanting. In many pots the missing piece is phosphorus, and one of the gentlest ways to add it is rock phosphate for plants. This guide explains what rock phosphate is, how it works in pots, how to use it step by step, and the mistakes that stop it from working.
Late October and November is a good time to read this. Winter vegetables and flowers are being sown across India, and mixing a phosphorus source into fresh potting mix now supports roots right from the start.
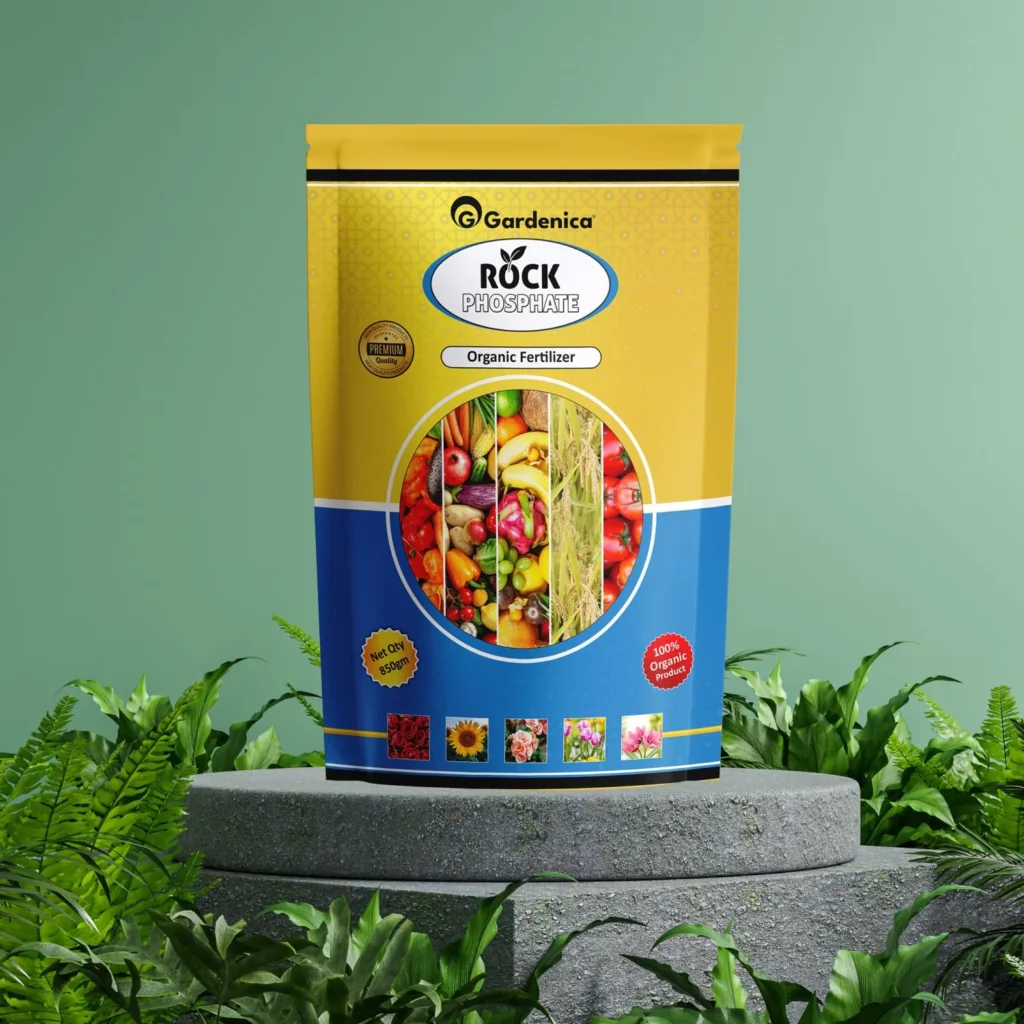
Read more: Explore Gardenica Rock Phosphate
What Is Rock Phosphate?
Rock phosphate is a natural mineral mined from phosphate-rich rock deposits and ground into a fine powder. India has its own deposits, including in Rajasthan and Madhya Pradesh, and the ground rock is widely used as an organic source of phosphorus in farming.
What it contains
The main nutrient is phosphorus, in a form called apatite. It also carries calcium and small amounts of other minerals. The exact phosphorus content varies with the source and grade, so read the label of the product you buy.
How it differs from chemical phosphate fertilizers
Fertilizers such as DAP or single super phosphate are processed so the phosphorus dissolves quickly in water. Rock phosphate is not. It releases phosphorus slowly, over months, as soil acids, roots and microbes break it down. That makes it a slow-release, low-risk input rather than a quick fix.
Why Plants Need Phosphorus
Phosphorus is one of the three major plant nutrients, along with nitrogen and potassium. Nitrogen drives leafy growth. Phosphorus has a different job:
- Root development: strong early roots help seedlings settle after sowing or transplanting.
- Flowering and fruiting: phosphorus is involved in energy transfer inside the plant, which supports flower, fruit and seed formation.
- Bulbs and roots: crops such as onion, garlic, carrot and radish depend on healthy underground growth.
In pots, nutrients wash out with every watering and old mix gets used up. A slow source like rock phosphate keeps a small reserve of phosphorus in the root zone.
Signs of Phosphorus Deficiency in Pot Plants
Phosphorus shortage is easy to miss because the plant often stays green. Look for these signs together rather than one alone:
- Slow, stunted growth even with regular watering
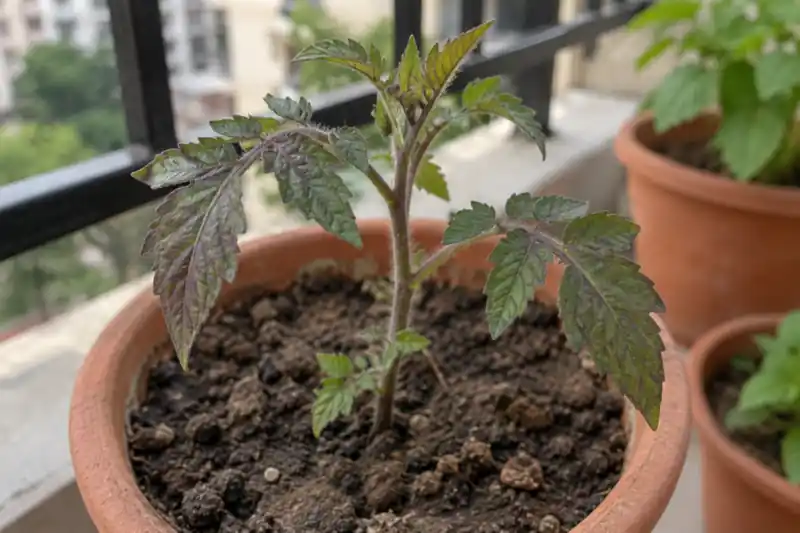
- Dull, dark green leaves, sometimes with a purple or reddish tinge, especially on the underside of older leaves
- Few flowers, late flowering, or flowers that drop early
- Small fruits and weak root systems when you repot
Cold nights can also cause purple leaves on tomato and some other seedlings, so do not treat colour alone as proof. If you are also seeing yellowing, overwatering or a nitrogen gap may be the bigger issue.
How to Use Rock Phosphate in Pots: Step by Step
Phosphorus moves very little in soil. It stays close to where you place it, so rock phosphate works best when it is mixed into the root zone, not sprinkled on top.
For new pots and fresh potting mix
- Prepare your base mix of garden soil, cocopeat and compost. Our guide on potting mix for kitchen gardens explains the ratios.
- Measure the rock phosphate according to the product label for your pot size.
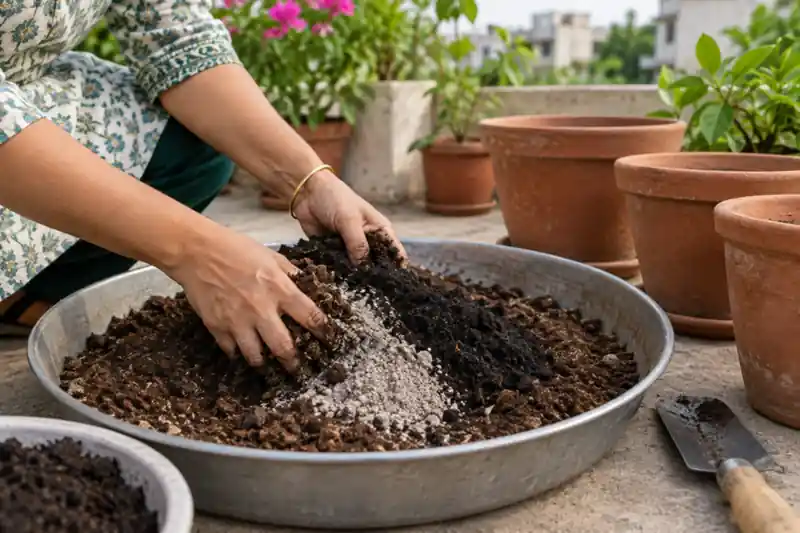
- Mix it evenly through the whole mix, not in one layer.
- Add well-rotted compost or vermicompost in the same step. Organic matter and microbial activity help release phosphorus from the rock.
- Fill the pots, water well and let the mix settle for a few days before sowing if you can.
For plants already growing in pots
- Loosen the top 2-3 cm of soil around the plant with a small fork, staying clear of the main stem.
- Sprinkle the label dose in a ring around the plant.
- Work it gently into the loosened soil and cover it with a thin layer of compost.
- Water slowly so the mix stays in place.
Pair it with compost
Rock phosphate and organic matter work well together. Read how to apply vermicompost for plants so both go in at the right time.
Best Plants and Timing for Rock Phosphate
Because it acts slowly, timing matters more than quantity. The best moment is before or at planting, so phosphorus is available when roots and flowers need it.
Have a question about this topic?
Chat on WhatsAppWinter vegetables
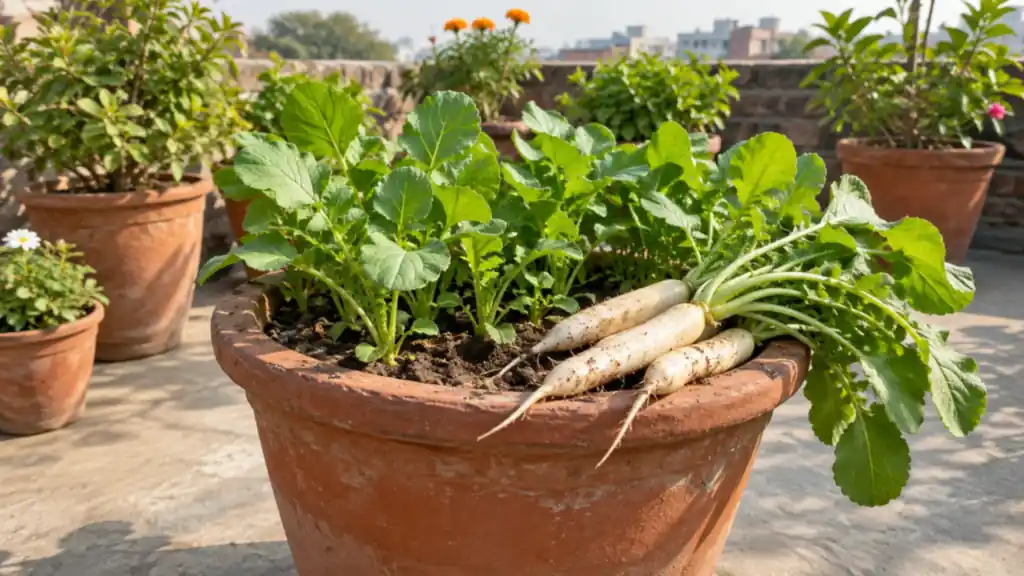
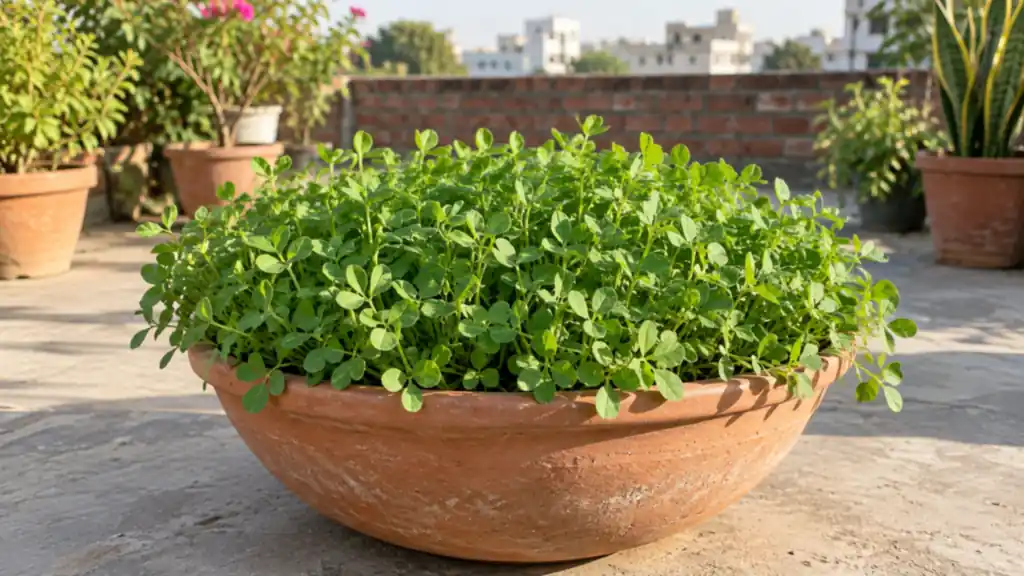
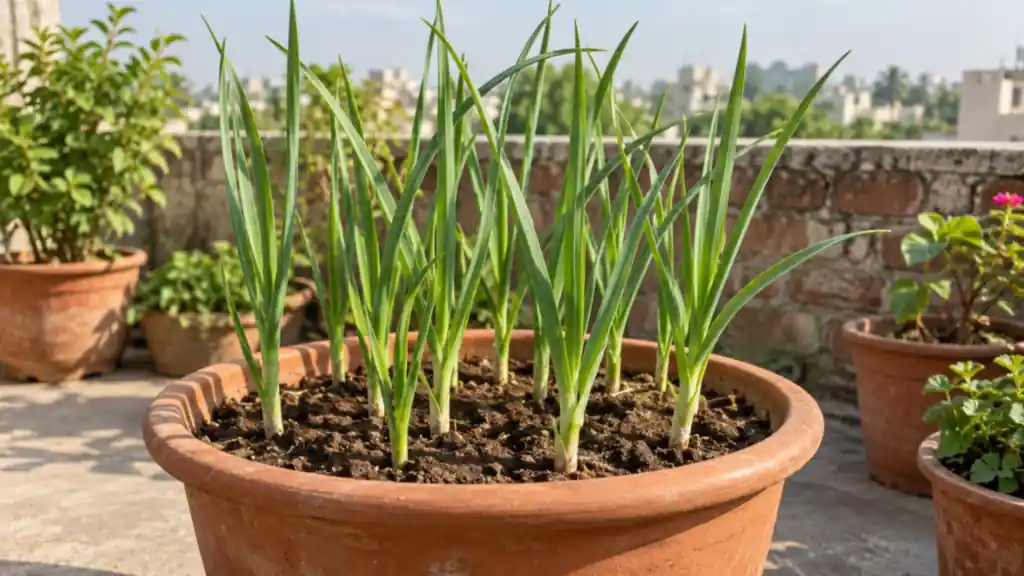
Tomato, chilli, brinjal, peas, onion, garlic, carrot and radish all benefit from phosphorus in the mix at sowing or transplanting. Our tomato growing guide shows where this fits in the season.
Flowering plants
Rose, hibiscus, marigold, chrysanthemum and other bloomers use phosphorus during bud formation. For roses, add it during pruning and repotting, as covered in our rose plant care guide.
How often to apply
For most pots, once at planting and once at the start of the next main growing season is enough. Follow the frequency on the product label rather than adding it every month.
Rock Phosphate vs Bone Meal and Other Phosphorus Sources
Gardeners often ask which phosphorus source to choose. Here is a simple comparison:
- Rock phosphate: natural mineral, free of animal products, very slow release, also adds calcium. Suits vegetarian and organic gardeners.
- Bone meal: animal-based, releases phosphorus somewhat faster, also adds some nitrogen and calcium.
- Chemical phosphates (DAP, SSP): fast acting but easier to overuse, and less suited to an organic kitchen garden.
A note on soil pH
Rock phosphate releases phosphorus more readily in slightly acidic to neutral soil. Many soils in Gujarat, Rajasthan and parts of central India are alkaline, where release is slower. In pots you can improve results by keeping plenty of compost in the mix, since organic acids from decomposition help dissolve the rock.
Common Mistakes When Using Rock Phosphate
- Expecting quick results: it is not a rescue treatment for a plant in trouble. Think in weeks and months.
- Top dressing only: powder left on the surface barely reaches the roots. Mix it into the soil.
- Using it without organic matter: in a mix with no compost, release is very slow.
- Adding more than the label says: extra does not mean faster results and can upset nutrient balance.
- Skipping nitrogen and potassium: rock phosphate supplies phosphorus and calcium only. Plants still need a balanced feed.
- Applying it to the stem: keep it in a ring a few centimetres away from the base.
Frequently Asked Questions
Is rock phosphate organic?
It is a natural, mined mineral that is ground rather than chemically processed, which is why it is widely used in organic growing. Check the product label for any certification.
How long does rock phosphate take to work?
It releases phosphorus gradually over several months. You will not see an overnight change, which is why it is best added at planting time.
Can I use rock phosphate for all potted plants?
Most vegetables, herbs and flowering plants can use it. For plants with very specific needs, check the label or ask a specialist.
Can I mix rock phosphate with vermicompost?
Yes. Mixing it with vermicompost or other compost is one of the best ways to use it, because organic matter helps make the phosphorus available.
Does rock phosphate burn plant roots?
Because it dissolves slowly, the risk of root burn is low compared with soluble fertilizers. Still, follow the label dose and keep it off the stem.
Is rock phosphate the same as bone meal?
No. Rock phosphate is a mineral, while bone meal is made from animal bones. Both supply phosphorus, but they differ in source and release speed.
Start Your Winter Pots With Phosphorus
If you are filling pots for winter vegetables or getting roses ready for the flowering season, add a slow phosphorus source now. Try Gardenica Rock Phosphate with compost in your next potting mix, and contact our team if you have questions about your plants.
Looking for more?
Continue to our main page to explore products and services.