How to Grow Potatoes in Grow Bags: An Aloo Guide for Indian Homes
How to Grow Potatoes in Grow Bags: An Aloo Guide for Indian Homes
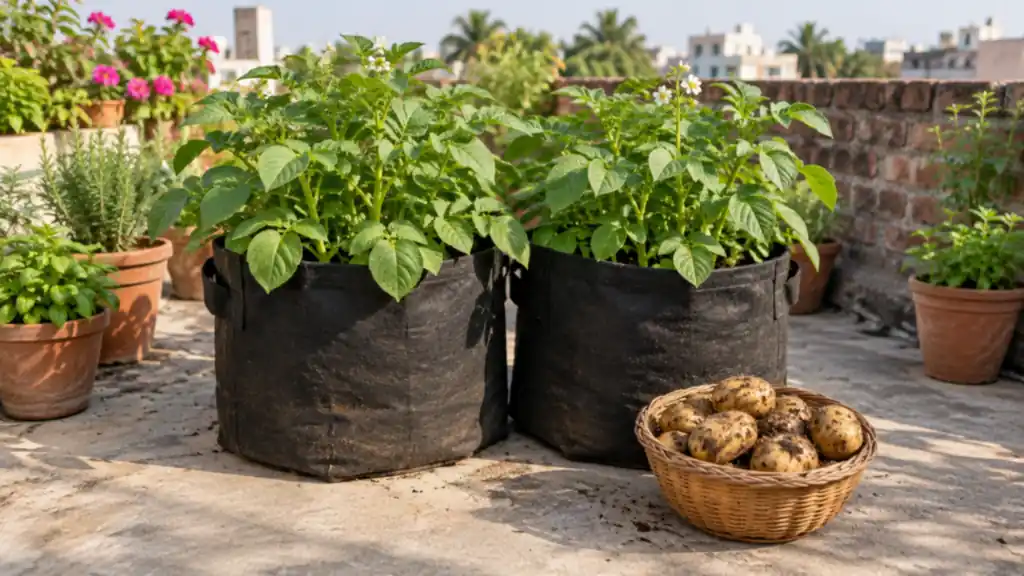
Few things feel as good as tipping over a bag of soil and finding a cluster of fresh aloo inside. If you have a sunny terrace or balcony, you can grow potatoes in grow bags this winter with very little fuss. Potatoes love the cool, dry months that most of India gets from late October to February, and a fabric bag makes planting, feeding and harvesting far easier than digging a bed. This guide walks you through choosing seed potatoes, filling the bag, earthing up, watering, feeding and knowing when to harvest.
Why Grow Bags Work So Well for Potatoes
Potato tubers form underground along the buried stem. A tall bag gives them loose, deep soil to swell in, and you can add soil as the plant grows. That is hard to do in a shallow pot.
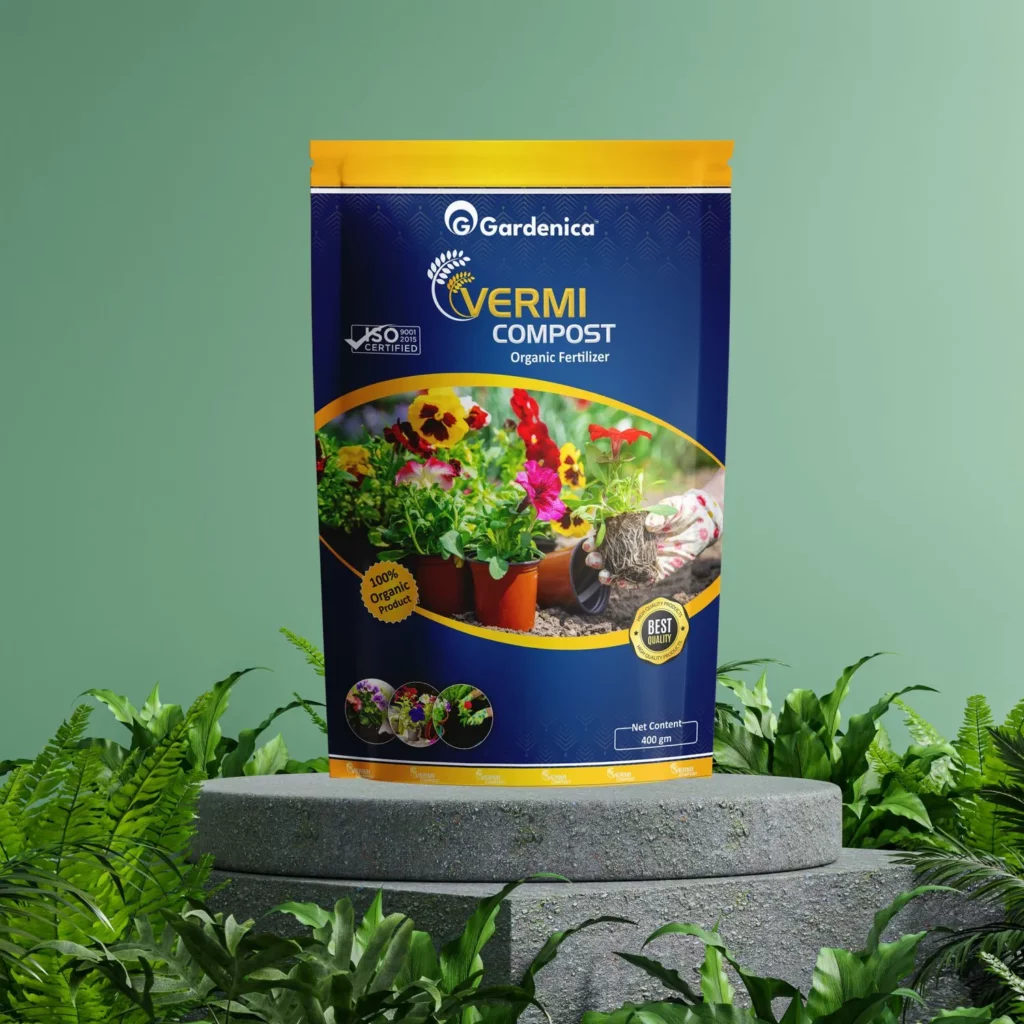
Read more: Explore Gardenica Vermi Compost
Benefits for terrace and balcony gardeners
- Good drainage: fabric bags let extra water escape through the sides, which lowers the risk of rotting tubers.
- Easy earthing up: roll the rim down at planting and unroll it as you add soil.
- Clean harvest: simply tip the bag onto a sheet instead of digging.
- Movable: shift the bag to follow the winter sun.
What size bag to choose
A bag around 15 inches wide and 12 to 15 inches tall (roughly 40 to 50 litres) suits two or three seed pieces.
Potato Planting Time and Seed Potatoes
Potato planting time in India
Potatoes need cool nights to form tubers. In the plains of north, central and west India, including Gujarat, the usual potato planting time in India runs from mid-October to late November, once the day heat has eased. If daytime temperatures in your city still feel like summer, wait a week or two. Planting too late pushes tuber growth into the warm days of March and gives smaller potatoes.
Choosing seed potatoes for planting
Potatoes are grown from tubers, not seeds. Certified seed potatoes for planting from a nursery or seed shop are the safest choice because they are checked for disease. Kitchen potatoes can sprout and grow, but some are treated to stop sprouting and they may carry disease, so results vary.
Sprouting (chitting) before planting
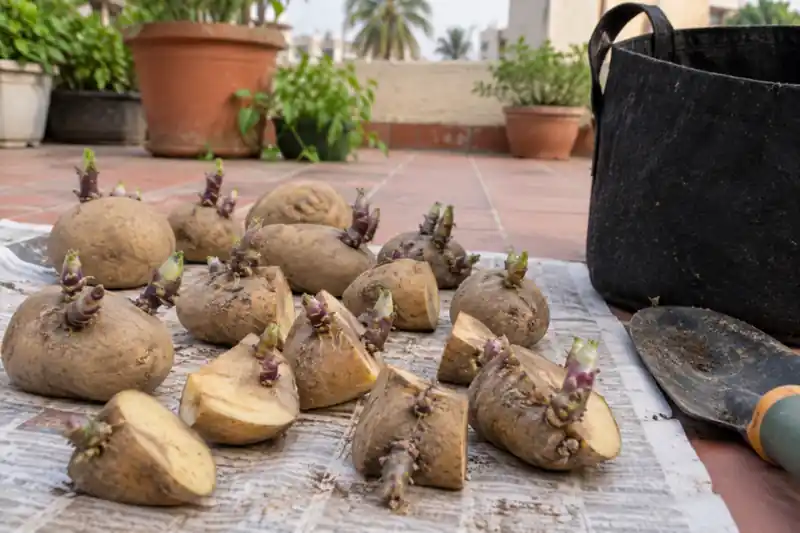
Keep the tubers in a cool, bright spot out of direct sun for one to two weeks. Short, sturdy green or purple sprouts are ideal. Long, pale sprouts formed in a dark cupboard break easily.
Cutting large tubers
- Plant small, egg-sized tubers whole.
- Cut larger tubers into pieces, each with two or three eyes or sprouts.
- Leave cut pieces in a shaded, airy place for a day or two so the cut surface dries and forms a skin. This helps prevent rot.
How to Grow Potatoes in Grow Bags: Step by Step
Once your seed pieces are ready, planting takes less than half an hour.
Prepare the soil mix
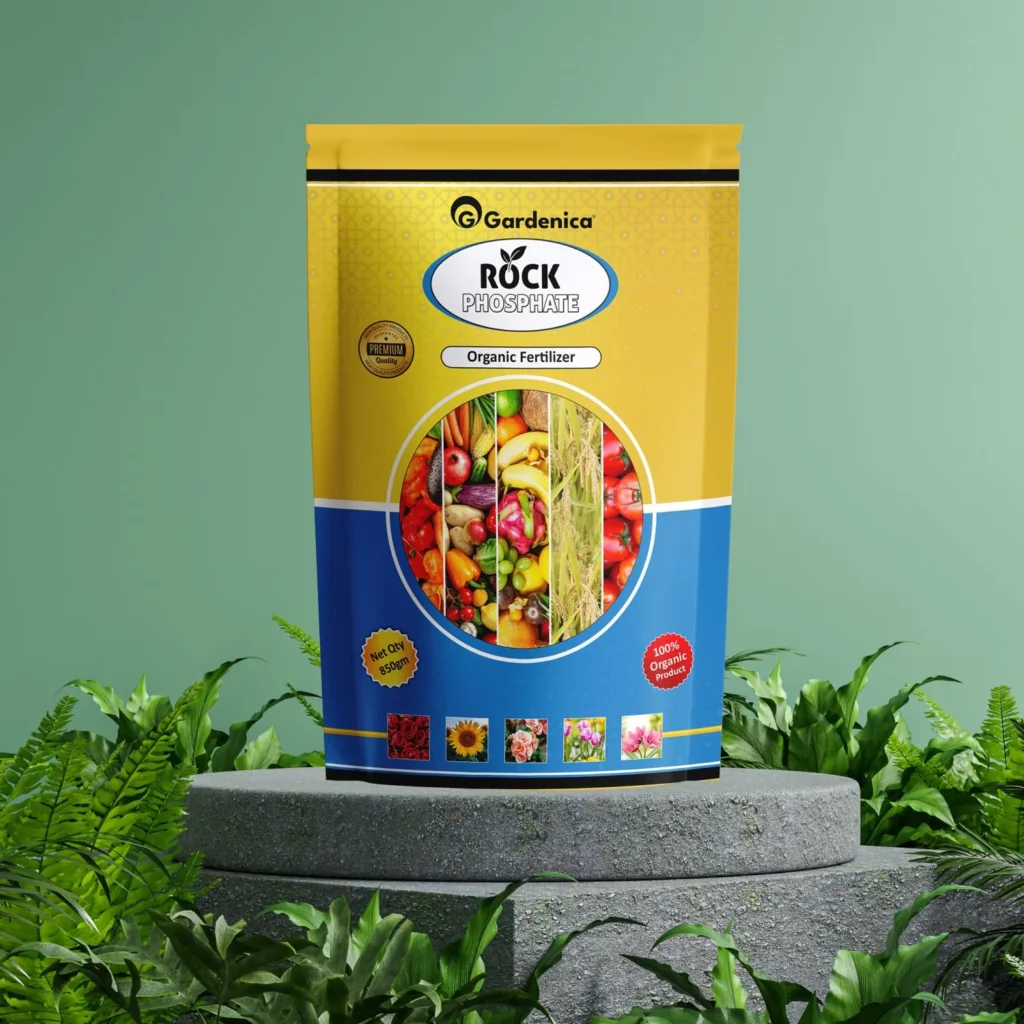
Potatoes want light, crumbly soil that drains well but holds some moisture. A simple mix is equal parts garden soil, cocopeat and well-rotted compost or vermicompost. Our guide to potting mix for kitchen gardens explains each ingredient in detail. Gardeners often mix in a little neem cake powder and rock phosphate at this stage; follow the product label for the amount.
Plant the seed pieces
- Roll the top of the bag down so it is about one-third of its height.
- Add 4 to 6 inches of soil mix and firm it lightly.
- Place two or three seed pieces on top, sprouts facing up, spaced evenly.
- Cover them with about 3 to 4 inches of mix and water gently until moist.
- Set the bag where it gets at least six hours of direct sun.
Earthing Up Potatoes as They Grow
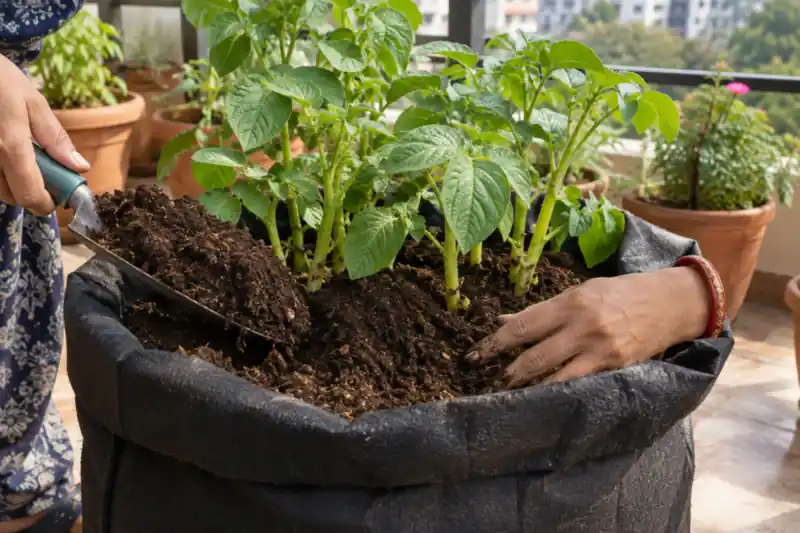
Shoots usually appear within two to four weeks, depending on temperature. Earthing up potatoes means covering the lower stem with more soil as the plant grows. New tubers form along this buried stem, and the cover keeps them out of light.
How to do it
- When stems reach about 6 to 8 inches, unroll the bag a little and add soil mix until only the top few leaves show.
- Repeat every two to three weeks until the bag is nearly full.
- Mixing some compost into each layer keeps the soil loose and rich.
Why green potatoes matter
Tubers exposed to light turn green and build up solanine, a natural compound that is not safe to eat in quantity. Keeping them well covered prevents this.
Watering and Feeding Potato Plants in Pots
Steady moisture gives smooth, even tubers. Water when the top inch of soil feels dry, which in winter may be every two to four days for a grow bag. Water less in cloudy or foggy spells.
Have a question about this topic?
Chat on WhatsAppFeeding
- Top-dress with a handful of vermicompost each time you earth up. Read more in vermicompost for plants.
- Phosphorus and potassium support root and tuber growth, while too much nitrogen can give lush leaves and few potatoes. See how rock phosphate for plants fits into a pot routine.
- For any fertilizer, use the dose and frequency on the product label.
Pests and Diseases to Watch
Aphids
Small green or black insects cluster under leaves and on tender tips. Wash them off with water and use a neem-based spray if numbers rise, following the label. Our guide to aphids on plants has more detail.
Late blight
In cool, damp or foggy weather, dark water-soaked patches can appear on leaves and spread quickly. Remove affected leaves, avoid wetting the foliage, give the plants space for air flow and use a suitable fungicide as directed on its label if the problem spreads.
Rotting seed pieces
Soggy soil or freshly cut pieces planted straight away can rot before sprouting. Dry cut pieces first and do not overwater before shoots appear.
When to Harvest Potatoes
Most varieties are ready about 90 to 120 days after planting. Knowing when to harvest potatoes depends on what you want.
- Baby potatoes: after the plants flower, gently feel into the soil and take a few small tubers.
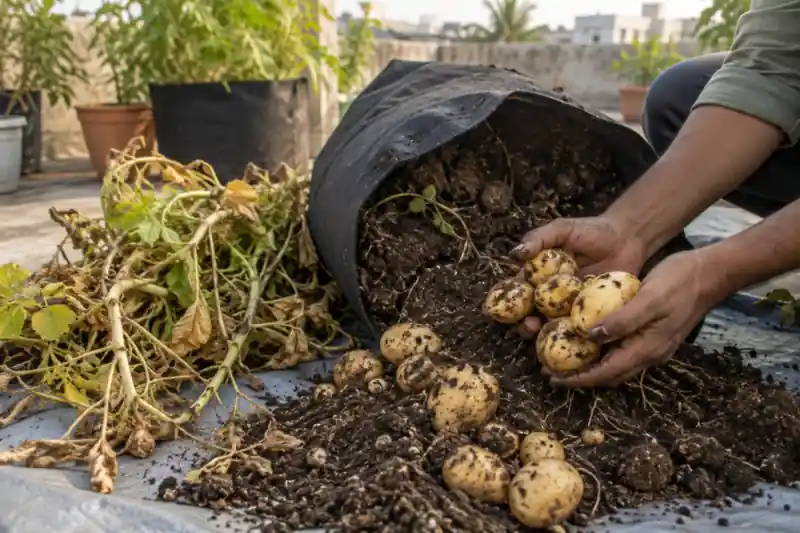
- Main crop: wait until the leaves turn yellow and the stems dry and flop over. Stop watering for about a week, then tip the bag onto a sheet and collect the tubers.
Let the potatoes dry in the shade for a few hours, brush off the soil and store them in a cool, dark, airy place. Do not wash them before storing.
Common Mistakes to Avoid
- Planting in a shallow pot with no room for earthing up.
- Planting cut pieces without letting the cut surface dry.
- Keeping the bag in shade; potatoes need full sun.
- Overwatering in cold, cloudy weeks.
- Heavy nitrogen feeding that gives leaves but few tubers.
- Leaving tubers exposed to light so they turn green.
Frequently Asked Questions
How many potato plants can I grow in one grow bag?
In a 15-inch bag, two or three seed pieces are enough. Crowding more pieces in usually gives many small tubers.
Can I grow potatoes from kitchen potatoes?
Sometimes. Sprouted kitchen potatoes can grow, but they may be treated or carry disease. Certified seed potatoes are more reliable.
How long do potatoes take to grow in a grow bag?
Most varieties take about three to four months from planting to the main harvest. Baby potatoes can be picked a little earlier.
Do potato plants need full sun?
Yes. Aim for at least six hours of direct sun a day. In shade the plants grow tall and weak with a poor yield.
Why are my potato leaves turning yellow?
Yellowing near harvest time is normal. Early yellowing can come from overwatering, poor drainage, nutrient shortage or disease, so check the soil moisture first.
Can I reuse the soil after harvesting potatoes?
Yes, but refresh it with compost and avoid growing potatoes or tomatoes in it again straight away. Leafy greens or peas are a better next crop.
A sunny spot, a deep bag, rich crumbly soil and regular earthing up are all you need for a homegrown potato harvest. Build your soil mix with Gardenica Vermi Compost for steady organic nutrition, and if you have questions about feeding or plant protection, contact the Gardenica team.
Looking for more?
Continue to our main page to explore products and services.